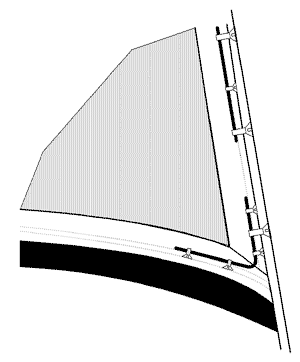
WINDSCREEN
Windscreen frame:

The windscreen frame is held together with a bracket inside the aluminum profile in each lower corner. Some very small screws secure the brackets. I have not been able to identify the correct thread of these screws, but they could easily be re-threaded to M4. Very close to 5/32" with a pitch more coarse than M4 - so it is probably a #10-24 or 5/32" BSW.
I took the opportunity to re-thread and use M4x6 stainless steel screws, in case I have to dismantle the frame again.
The frame held to the stanchions by 6 larger screws - again the thread was damaged, but 3/16" Whitworth is a close fit. The stanchions are fastened to the body by four 5/16" UNF bolts. I have found some nice dome headed ones in stainless steel at Stig Fasteners who is specialized in stainless fasteners. They were also able to supply the 3/16" BSW in stainless.
Glass
Unfortunately the glass broke during storage. It is more fragile than you think - so be careful. It was beginning to look a bit dented so it was OK. The local glass vendor (Dansk Bilglas A/S) was able to cut a new glass using the old one as a template for 437 d.kr. (58 €).Fitting lower screen seal
The most fiddly problem is getting the rubber seal to sit properly. Trimming with a knife helps, but trial and error seems to be the only way to get this to work.Fit the seal to the screen, leaving equal length tails either end. DO NOT remove them yet. Lubricate the mating face of the seal with a little washing-up liquid and set the screen in place with the 3 screws either side and also ensure that the stanchion bolts are loosened. Feed each tail of the seal through the 'triangular' hole in the stanchions. Now tighten the 3 screws on each side of the screen. The whole assembly (screen & stanchions) should now be free to move a little on the loosened bolts. Now, while pulling down on one tail of the seal through the triangular hole (this will eliminate any buckles and bulges in that side of the seal) tighten the stanchion bolts which will cause the stanchion to grip the seal and hold it in place. Repeat the process on the other side. Finally, VERY CAREFULLY, use a scalpel blade, or similar, to trim off the seal tail against the inner edge of the triangular hole in the stanchion. Eh - voila!!